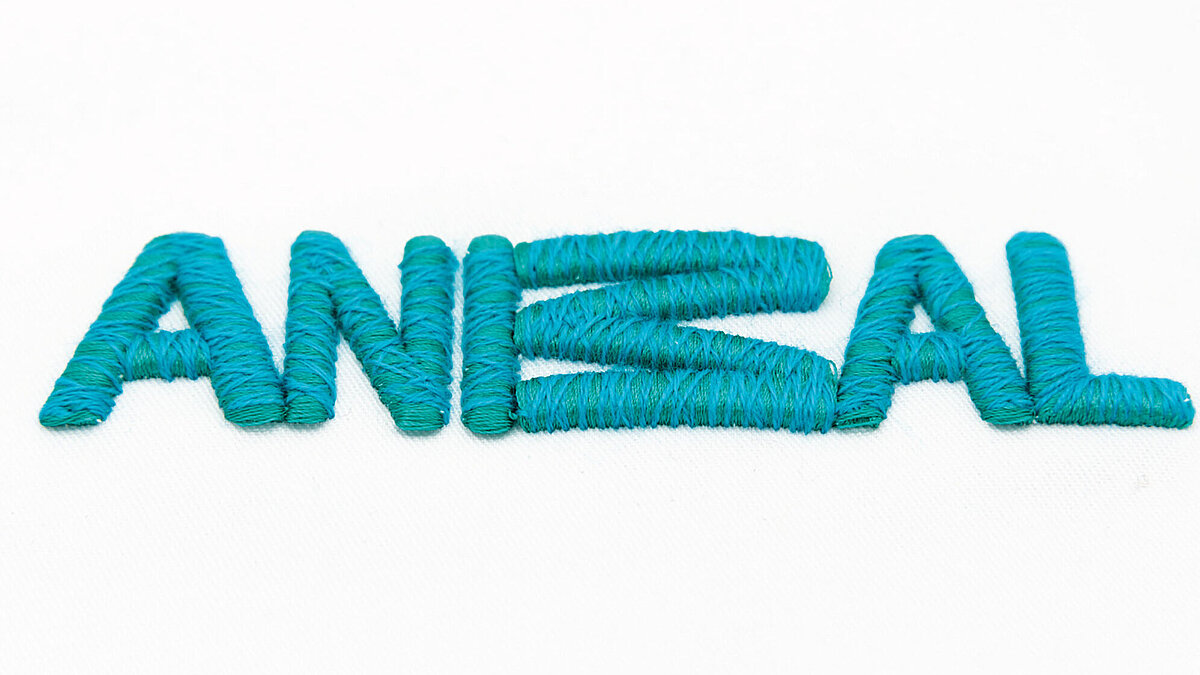
How to use Bodybuilder 3D foam for embroidery

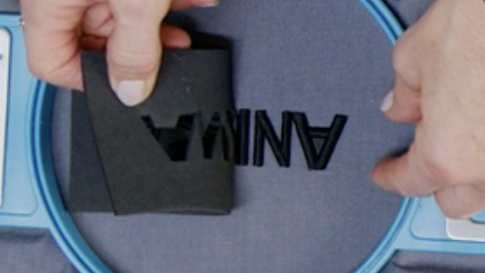
Welcome to our new 3D embroidery tutorial. Today, we will show you how to use 3D Bodybuilder foam to create stylish reliefs with your embroidery machine.

Bodybuilder 3D embroidery foam

Creating dimensional embroidery with 3D foam is as easy as child‘s play with this new tutorial. Great on caps, sweaters, jackets and badges.

Get Your PDF Tutorial Bodybuilder 3D Here

Step-by-step guide: how to use Madeira Bodybuilder 3D foam

What you need: Bodybuilder 3D foam, embroidery file adapted to 3D use, textile, thread, scissors

Hoop

Start by hooping the fabric and backing together.

Sew outlines and cut Bodybuilder

Place the hooped fabric in your machine, sew the design outlines directly onto the fabric, and cut a piece of Bodybuilder larger then the design. Program a stop after the outline to facilitate adding the foam.

Fix foam to fabric

Apply a small amount of adhesive spray and attach the foam to the fabric.

Embroider your design

Fix the foam onto the fabric with zigzag stitches, then embroider the entire design with satin stitches. For a 40-weight thread, double the stitch density for the 3D parts.

Remove excess foam

Tear away large pieces of excess foam and carefully remove small parts with a sharp object like a needle, scissors, or tweezers.

Clean up the tips

Poke in small pieces of foam that are sticking out in the design under the embroidery. You may as well use a heat gun to shrink foam into the design.

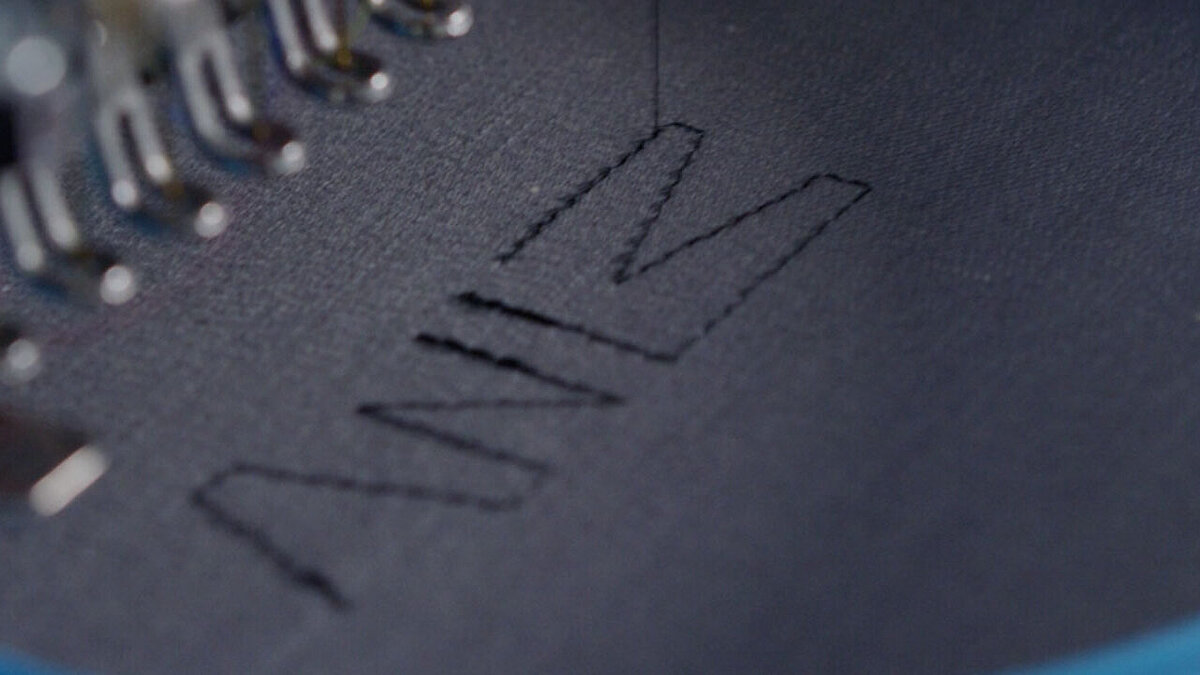
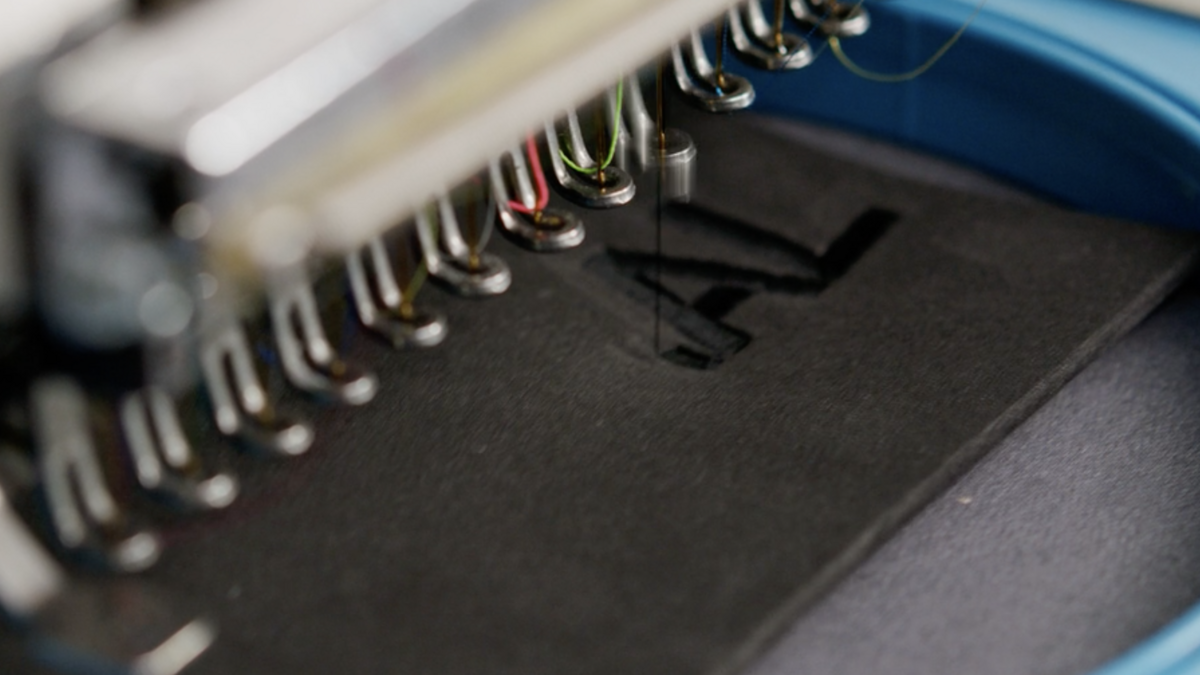
Important information for use

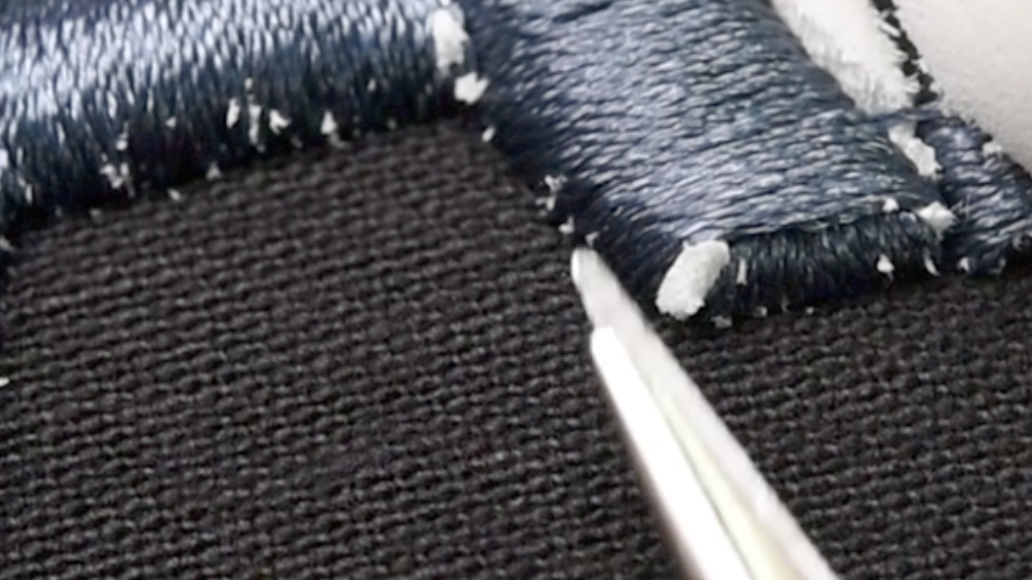
Be careful not to set the temperature too high when using a heat gun to avoid burning the thread.
Foam can be used in multiple layers to create a higher relief.
Needle tip: Nm 70/10 round point FFG needle.

To download the Bodybuilder data sheet, visit our speciality backings section.