How to use Stick-On self-adhesive backing

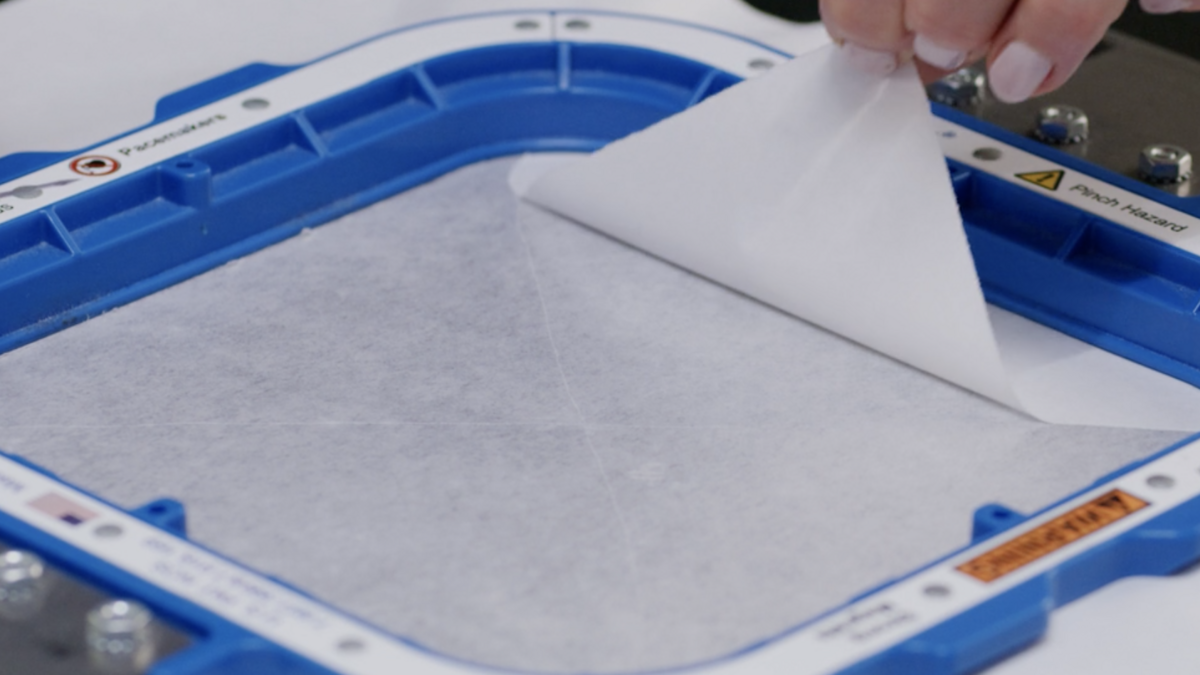
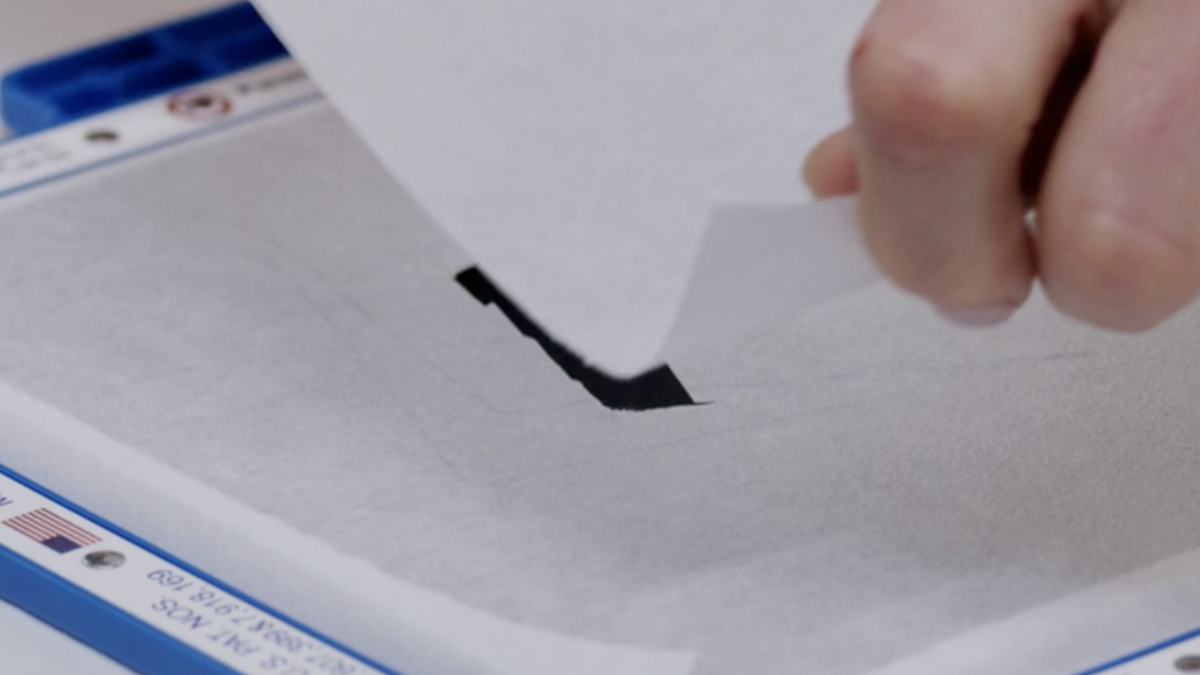
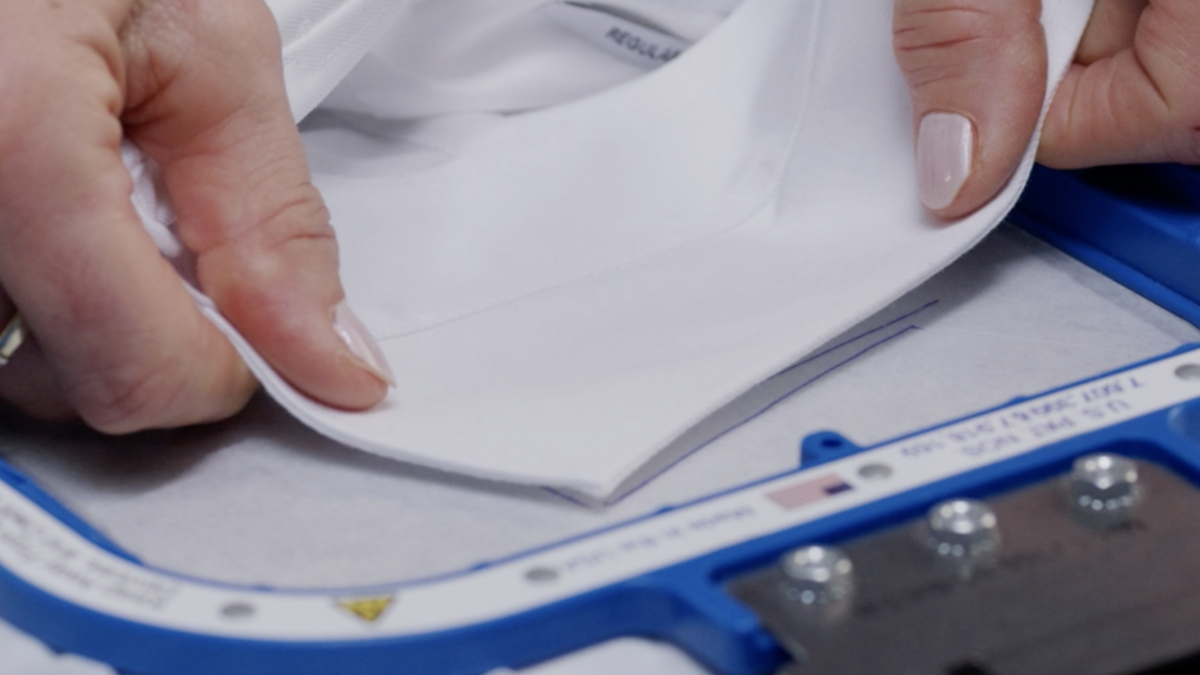
This tutorial shows you how to use Madeira E-ZEE Stick-On efficiently. The one-sided, self-adhesive embroidery backing stabilises cut-outs and fabrics that cannot or should not be framed such as pockets, socks, cuffs, belts and collars.

Get Your Stick-On Self-Adhesive Backing PDF Tutorial Here

Step-by-step guide: how to use Madeira Stick-On adhesive backing

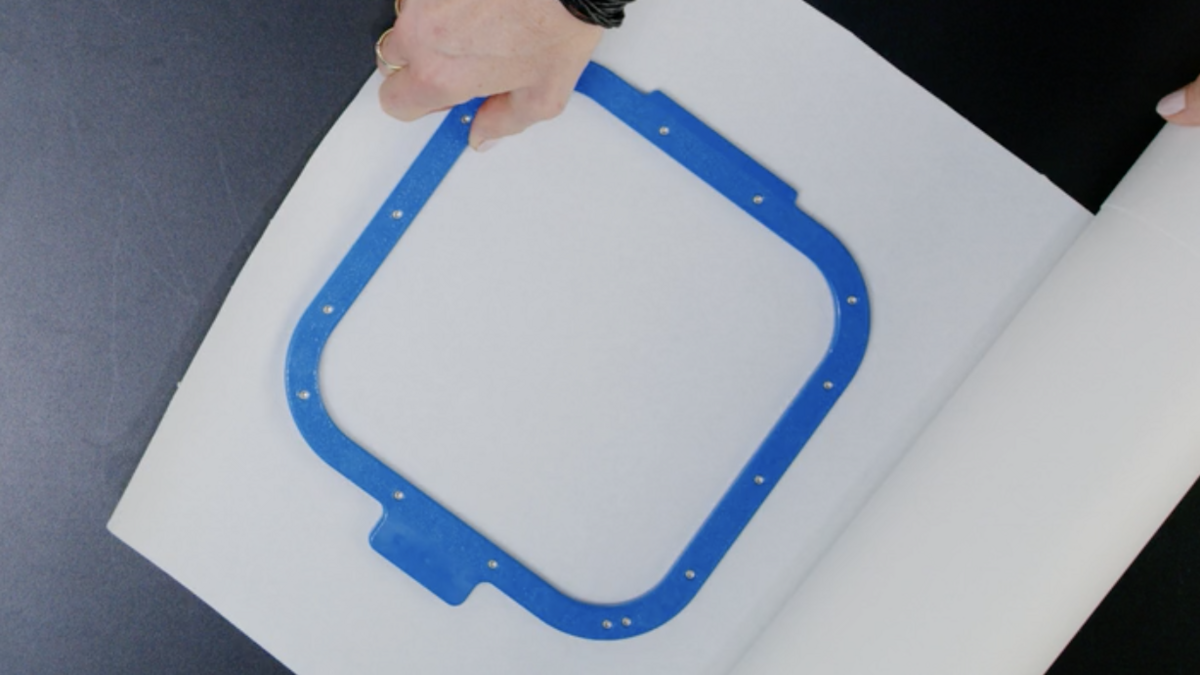
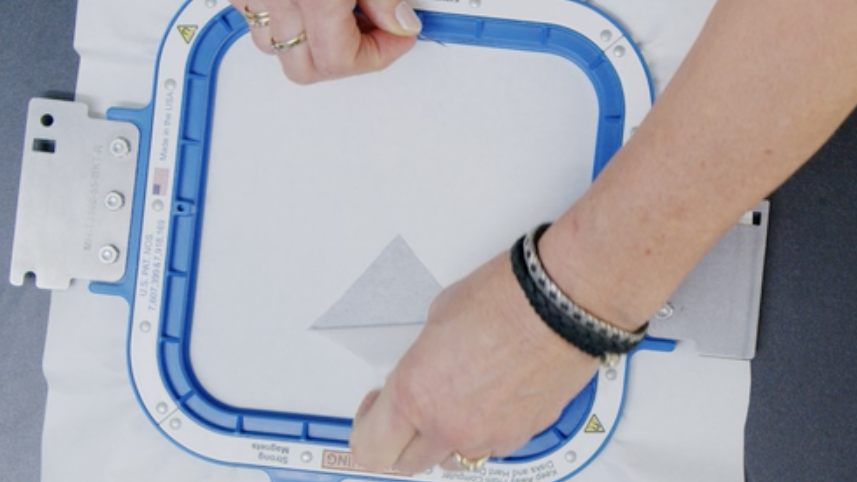
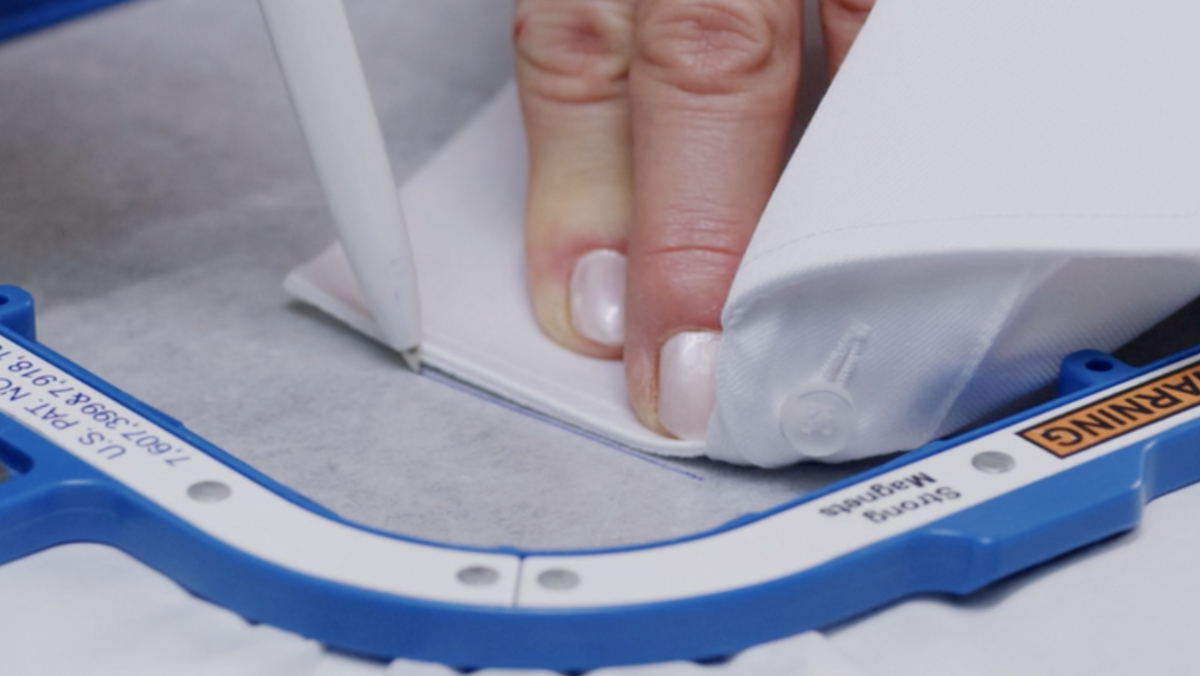
What you need: Stick-On adhesive backing, garments, hoop, embroidery program, foil cutter or straight pin

Prepare the hoop

Cut a piece of Stick-On larger than the frame or use a pre-cut. We recommend a larger hoop to process multiple garments without hooping each piece separately. Ensure that the entire textile is on the frame.

Hoop the backing

Hoop with the protective paper facing up. When using Fast Frames, bond Stick-On directly on the frame.

Remove protective fi lm

To expose the adhesive, carefully score an X pattern with a foil cutter or the tip of a straight pin and remove the paper inside the hoop area.

Positioning the garment

Position the garment and press to adhere where the design is to be embroidered. You can mark the spot with a pen, parallel to the machine‘s running direction. so that you can place the next garment in the exact same position.

Remove and replace backing

To remove the backing, gently fold in each direction to minimise the amount of backing removed, then tear away. Fill the hole with a small piece of Stick-On from underneath the frame.

Use the hooped backing again

Position the next garment and repeat the process. This way you can embroider multiple pieces with only one hooping until there is too much backing material superimposed. Then hoop a new piece and continue.

Important information for use

Open weave, knitwear or stretch fabric can additionally be stabilisedwith a fusible backing.

To download the Stick-On data sheet, visit our backings section.